It’s a known fact that when it comes to landing page builders, no other builders could come close to Elementor. The same is the case with Sendinblue where it gives tough competition to all the other email marketing services. I know this for a fact because I’ve been using Sendinblue for my site MyWPLife. However, despite both the software being prominent in their respective fields, it was impossible to integrate them. But it is now possible with the help of an intermediary plugin, MailOptin. So in this guide, I am going to show you how to integrate Elementor forms with Sendinblue using the MailOptin plugin. Before we get started, allow me to briefly talk about –
What Is Elementor & Why Is It So Popular?
Elementor is basically a WordPress page builder plugin that allows you to create complex layouts with the help of a live frontend editor. Not just this, you can create full-fledged WordPress themes with Elementor too. You would be amazed to know that over 5,000,000 users are using Elementor on their websites. These include bloggers, eCommerce stores, online coaches, businesses, and also, website development agencies who create websites for their clients. Some of the prime reasons behind its popularity are ease of use, innumerable use cases, flexibility, visual editor, and most importantly, its ability to create sign-up forms & integrate it with leading email marketing services. The set of emailing services include MailChimp, MailPoet, GetResponse, ConvertKit, Drip, ActiveCampaign, HubSpot, MailerLite, etc. But alarmingly, Elementor did not support direct integration with Sendinblue. So a significant chunk of Elementor and Sendinblue users did not use either software for their page building or bulk emailing needs. But with the recent possibility of integration between Elementor and Sendinblue, things are going to improve for your websites. That being said, it would be unfair if I didn’t briefly talk about –
What Is Sendinblue & How Do You Integrate With WordPress?
Sendinblue is a complete marketing suite for all kinds of businesses and websites, that specializes in email marketing. Apart from email marketing service, it also provides several other features like marketing automation, SMS marketing, live chat, Facebook ads, CRM, and landing page & sign up form builder.
Due to this set of features, Sendinblue became the top choice of emailing for eCommerce and blogging sites. Also, when it came to providing an optimal way to capture leads, Sendinblue provided a couple of solution to create, edit, and embed sign up forms in your WordPress site –
1. Directly Embedding The Sign Up Form Code
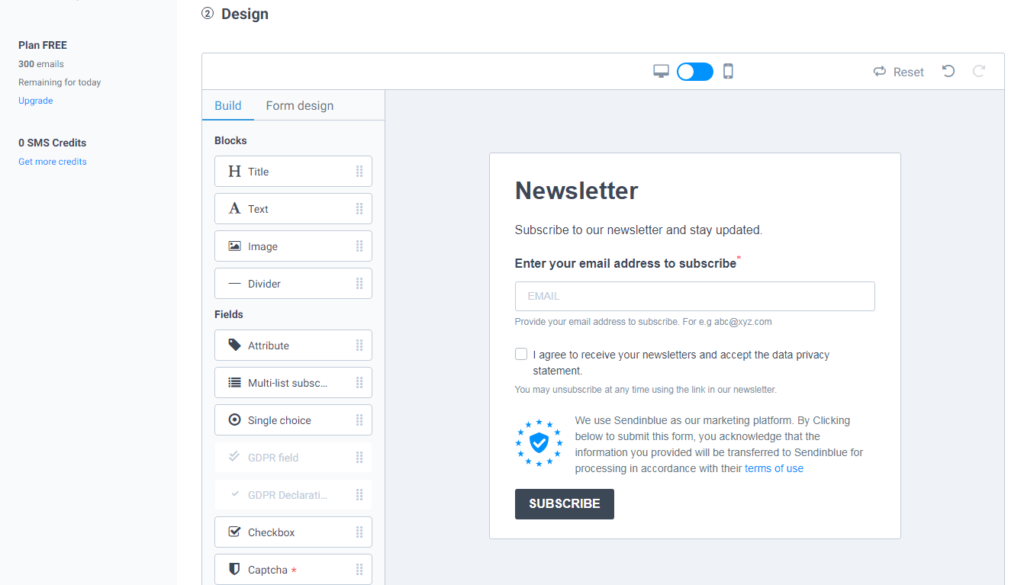
The most optimal and easiest way to embed a Sendinblue sign up form is to first create it using the Sendinblue sign up builder and embed it in your WordPress pages, posts, etc. Here’s how the sign up form builder looks – The builder provides plenty of form elements and a unique GDPR compliance block. Almost every aspect of the form is editable so that it can match your brand style. And, once you are satisfied with the appearance and its internal settings, you can share it on your website by embedding its code. In addition to this, you can also embed the form using its WordPress plugin
2. Embedding The Form Using Sendinblue WordPress Plugin
To provide you a seamless way to capture leads, Sendinblue also enables you to install its WordPress plugin. This certainly helps you directly embed the form anywhere in your WordPress site using the respective shortcode. However, to make the form visually appealing, you would need coding knowledge. If you could look closely, you could see that there are a few drawbacks to using conventional Sendinblue sign up forms in your WordPress sites. This begs the question –
Why Do We Need to Integrate Sendinblue With Elementor?
Here are a few drawbacks that users have come across –
The layout of the conventional Sendinblue sign up forms isn’t flexible.Similarly, the opt-in forms built using the plugin lack visual appeal.You would need coding knowledge to transform these forms to match your brand or the required visual appearance.The plugin alone does not provide enough value.
Obviously, if Elementor could integrate with Sendinblue, most of these problems would get solved automatically. Not only this, even more benefits would emerge…
Benefits Of Integrating Sendinblue With Elementor
You can save your time by negating the manual process of transferring leads from Elementor to Sendinblue.The integration and the WordPress plugin will update your WordPress’ default emailing function to Sendinblue SMTP for better delivery.All the automation can be triggered by Sendinblue Elementor integration.Most importantly, you achieve maximum visual appeal and functionality by integrating and using the Elementor form widget.The sign up forms can be embedded anywhere on your WordPress site.You don’t have to deal with any kind of code (except the embedding part) to achieve the required form appearance.
Evidently, the integration of Elementor and Sendinblue provides tons of features and growth in your marketing performance. Now, without wasting any more time, let’s integrate both the software…
Important Points To Remember Before Integration
To commence the integration process, there are a few prerequisites. For starters, you must first sign up on Sendinblue. Don’t worry, it offers a very generous free plan that enables you to import unlimited contacts or capture unlimited leads. Moreover, it also offers a 9,000 email/month sending quota with 300 emails/day limit. Not to mention, a lot of other marketing features and modules are also available for free. So if you already have a Sendinblue account, it’s well and good. If not then… After signing up, you must also check if you have Elementor installed in your WordPress dashboard. That’s not all..!! To be able to create sign up forms using Elementor, you would need the Form Widget of the Elementor. This is a paid widget that comes with a premium or pro version of Elementor. The Form Widget is a part of the 50+ Pro Widgets package that can be purchased at the starting price of $49/year for 1 website. Once you have acquired the pro version of Elementor, now you must get the intermediary plugin that facilitates the integration process – MailOptin. This is also a premium plugin that not only fosters the integration of Elementor with Sendinblue but also enables you to integrate Elementor with any leading email marketing services. Quick note: Sendinblue established a partnership with MailOptin to make an email marketing service available by default starting on their free plan.
So, you can do it completely FREE using MailOptin. After signing up on the required software and installing the required plugins, you can move forward to the integration guide. To install and update the premium versions of the required tools, you should have to use the following path – Dashboard → Plugins → Add New → Upload. Your installation process will start and all you’d have to do next is activate them. After activating all the required plugins, you need to connect your Sendinblue Account with MailOptin.
Connect Sendinblue Account With MailOptin
Click on the MailOptin plugin you have downloaded on your WordPress site, then go to the “Integrations” option. To connect Sendinblue account with MailOptin, you have to enter API v3 Key. To get Sendinblue API v3 key, you need to sign in to your Sendinblue account. Click on the drop-down menu available at the top of the page, click on SMTP & API submenu to get your API Key. Or you can directly land on the Sendinblue SMTP & API page by clicking on the link available on the MailOptin integration page.
Copy API v3 key, paste it in the API key field and click on “Save Changes” button.
Guide On How to Integrate Sendinblue With Elementor
Once you have connected Sendinblue Account with MailtOptin, you can follow the below-mentioned steps to integrate Sendinblue and Elementor.
1. Configuring Elementor Form Fields
The first step asks you to open up the corresponding page where you want to embed your sign up form. Once the page is open for edit, you’d want to select the Edit With Elementor option. The clicking on this button will open up your Elementor editor. In your Elementor dashboard, you can browse through all the available (free & premium) widgets and search for Form Widget. You will get form widget in the Pro section. Instead of scrolling down the list, I would recommend you type and search for it. After finding it, drag & drop it to the necessary position on your WordPress page. Now, you’d have to access the Content section of the corresponding Form widget in the Elementor left-hand side editor panel. You could see that there are three fields here –
NameEmailMessage
If you want to collect subscriber’s full name and email addresses only, then remove the message field by clicking on the cross sign, and only work with the Name and Email field. Next, if you click either of the Form Fields, a drop-down section will expand and grant you the access to its Content and Advanced settings. Moreover, you can also update you form name. In the Advanced settings tab, you’d be able to locate the ID field. Make sure to use the IDs name and email for the name and email field, respectively. Please note that with the above-mentioned form fields and IDs, you will collect Fullname and the Email of your potential subscribers. That being said, if you wish to collect first name and last name separately, you’d need to then add a new form field by clicking the + Add Item button. Now, update the placeholder and label of this newly added field to Last Name. Don’t forget to add the ID as last_name for this field. The job isn’t done yet..!! The first form field with the label Name must be changed to Firstname. Correspondingly, the ID of this form field should also be changed to first_name.
2. Integrating Sendinblue Using The MailOptin Widget
After completing these steps, you can now forward to the core integration steps. In the Form Settings (available in the left-hand side panel), you can find the “Actions After Submit” settings tab. Click it and enter MailOptin in the given action box. Now, again trackback to the Form Settings (left-hand side panel) and locate the MailOptin dropdown section. Open it up and –
Choose Sendinblue as your email marketing service from the given list.Select the corresponding email list that will collect subscriber’s data.
That’s it..!! All you have to do now is Publish your settings.
3. Additional Features
At this point in this guide, you have successfully integrated Sendinblue with the Elementor form. In simple words, your Elementor forms can now collect subscriber’s data such as Name & Email, and automatically add it in the corresponding email list. But what if you want a sign up form that has extra fields (other than name and email)? Don’t panic..!! Not only you could add extra fields in a few clicks but you can also automatically import the corresponding data. For this, you’d have to first + Add Item in the Form Field settings. Add as many as you want. Then open the MailOptin drop-down section (left-hand side panel) and map the new custom fields accordingly.
All Done. Now What?
Now that you have successfully completed the Sendinblue Elementor integration, it’s time for you to sit back, relax, and let the magic of integration do its work. With this integration, not only you have added extra visual flair to your sign up forms but you have also negated any manual process of subscriber data import. At last, I would encourage you to post your queries in the comments section so that I can help you better.
Sendinblue Shopify PluginIncrease Blog Traffic With Sendinblue RSS to EmailSendinblue Vs SendGrid